As you know, the IntelliGantt Web Part, whether running as a desktop application or as a Web Part embedded within a SharePoint page, supports file drag and drop. By default these files are saved as attachments to the task item you dropped them on. Now we've taken things a step futher-- we've implemented the ability for the IntelliGantt Web Part to serialize tasks to an 'igantt' so they can be used as a template. (OK, it's really an XML file, but we use the igantt extension to identify these templates).
You can then drag one or more of these igantt files onto a project or summary task and it will create the tasks stored in the igantt file as children of your drop target. If that description didn't grab you, here is a walkthrough with screen captures.
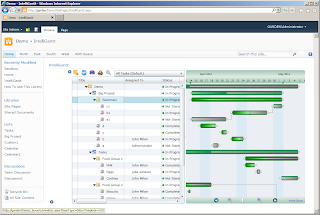
Here we see the IntelliGantt Web Part within a SharePoint page. We've already expanded the task manipulation pane by clicking on the little blue button in the upper left corner.
When we move the mouse into the 'empty' manipulation pane, icons appear in the row under the mouse. These icons show what you can do with this task item.
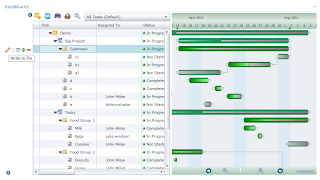
For example, we see the 'Summary' row as the following:
1) Write to File (the pencil)
2) Make Discussion (the caption -- creates a topic in a Discussion List)
3) Make Event (the calendar -- creates an event in a Calendar list)
4) Add a Sub Task or Sub Summary (the plus)
5) Remove the item (the minus)
Since we're focusing on task templates this post, imaging you just clicked the pencil. What you'll see is a 'Save As' dialog:
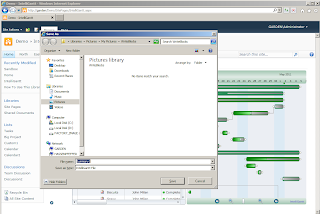
Here you will name the file that will store the task information. We really wanted to seed the filename with the name of the task, but we have to wait for Silverlight 5 to come out. After the file name 'Summary1' has been typed, the Summary task and its children are then saved to file 'Summary1.igantt'.
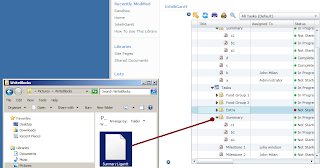
Now you can view this file with Windows Explorer and, better yet, drag it over any project or summary task in the IntelliGantt Web Part:
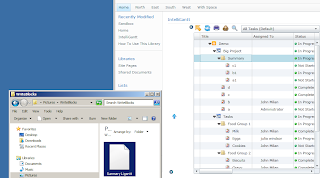
Notice the helpful blue 'upload' arrow that shows which row this igantt file will be applied to. Here we are targetting the 'Tasks' project with a drop of our Summary1.igantt file.
Once we drop the file, you will see the task group we had saved magically reappear in the new list:
If your igantt'd tasks have assignements, then IntelliGantt will try to match the user from the old source with the same user in the new source and make the assignment. Also, if the group of tasks in the igantt file have self-contained dependencies, these will be reproduced as well.
Finally, if you happen to be one of those folks using both SharePoint and Basecamp, you can copy from one and drag/drop to the other.
We did tie this feature to a privilege that can be turned on or off. By default it actually is off in the IntelliGantt Web Part (unless you are running on the desktop or are an administrator).
Here is a link showing how to enable the 'Writing Task Blocks' privilege in SharePoint.


No comments:
Post a Comment